· EMPOLO buyer guide
Wall Mounted Faucet Installation Planning Checklist

· EMPOLO buyer guide
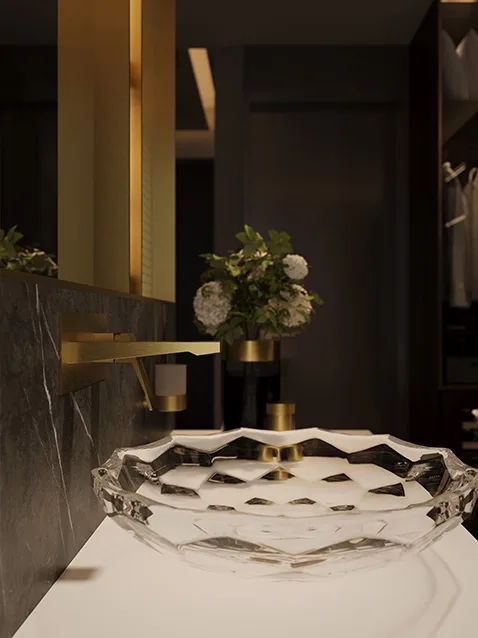
A wall mounted faucet looks effortless — a spout floating above the basin with nothing visible in the room. That effect is entirely decided before the tile goes on. The rough-in body sits inside the wall, and once the wall is closed, moving it means opening it. For project buyers and contractors, the cheapest moment to fix a wall-mount decision is on paper.
At EMPOLO we ship wall-mount mixers with concealed bodies for hotel and residential projects across more than a hundred markets, and the specification mistakes we see most often are the same five or six, over and over. This checklist is what we hand to procurement teams before they order.
Measure the distance from the finished wall face to the centre of the basin drain, and the height of the basin rim. Wall-mount spouts need enough forward reach to land water in the bowl — not on the rim, not short of the drain. Vessel bowls and deep soaking basins change the answer. Ask the faucet manufacturer for the spout reach drawing of the exact model, and overlay it on your basin drawing. We publish reach dimensions on every wall-mount specification sheet we quote.
The concealed body must be set at the height that matches your spout drop and rim height. Too high and the stream splashes; too low and the lever fights the basin wall. Framing stage is free to adjust; tile stage is expensive; grout stage is a demolition project.
Wall-mount mixers feed a single spout, and project teams often add an outlet — a bath spout below, a hand-shower beside. Every added outlet changes flow split. If your supply pressure is modest, a two-outlet plan is safer than three. Tell the factory your static and dynamic pressure at the bathroom riser; the cartridge and aerator specification should be chosen for that pressure, not for the datasheet average.
Cartridges wear. A wall-mount valve that cannot be serviced without cutting tile is a liability your facilities team will discover at the worst possible time. Check that the trim removes without tools or with a single key, and that the cartridge pulls straight out after trim removal. Our concealed-box valves are designed for front service; ask any supplier to demonstrate service removal on a sample before you approve the shop drawings.
PVD coatings — brushed gold, gun metal, matte black — are specified against tile and hardware samples under the actual bathroom lighting, in the actual finish, at full size. A finish chip in a catalog photograph is not a sample. Manufacturers with in-house plating lines can repeat a batch finish reliably because the bath chemistry lives under the same roof as the polishers; that is a real difference when a two-hundred-room order needs a second production run.
The most common damage we see on delivered jobs is not manufacturing — it is construction traffic. Keep the trim out of the room until paint and grout are finished, keep the protective caps on the rough-in, and store levers and escutcheons in their cartons labelled by room type. Replacing one scratched escutcheon in an overseas project costs more in logistics than the part deserves.
Pressure-test the rough-in be
Send your model list, room schedule or drawings — our team replies within 24 hours with pricing, certificates and lead time.
Get a Quote WhatsApp: +1 315-623-3808